


You’ve got your Express API running perfectly on localhost:3000, but moving it to a live production environment often feels like a massive leap. While PaaS options like Heroku or Render are easy, they get expensive fast once your traffic grows.
If you want raw performance, full root access, and a solid Linux environment to run your backend, setting up an unmanaged VPS is the smartest route. Today, we are deploying a Node.js app on a Hostinger VPS. It is heavily optimized, highly affordable, and gives you a clean slate to build exactly what you need.
Here is exactly how to get your app live from scratch.
Prerequisites
Before we touch the command line, you need the infrastructure:
A Hostinger VPS Account: You need an unmanaged server. Check Hostinger’s current VPS pricing here — the KVM 1 plan is more than enough for a standard backend API or student project.
Your Code: A basic Node.js/Express app pushed to a public or private GitHub repository.
Basic Terminal Knowledge: We will be using SSH.
The Deployment Process
1.Provision Your Ubuntu VPS:Select Ubuntu 24.04 LTS for the best long-term stability.
Once you purchase your Hostinger plan, navigate to the VPS dashboard. Choose Ubuntu 24.04 as your operating system. Hostinger will provision the server and provide you with a dedicated IP address and a root password. Save these — you will need them immediately.
2.Connect via SSH and Update Packages:
Open your terminal (whether that’s the native Ubuntu terminal, Warp, or macOS Terminal) and connect to your new server as the root user:
ssh root@YOUR_SERVER_IPOnce you are in, update the package manager to ensure you have the latest security patches:
sudo apt update && sudo apt upgrade -y3.Install Node.js and PM2:PM2 keeps your app running if the server restarts.
Install Node.js. For production, installing via NodeSource is the cleanest method to get the latest LTS version:
curl -fsSL https://deb.nodesource.com/setup_20.x | sudo -E bash -
sudo apt install -y nodejs
Next, install PM2 globally. This is a process manager that ensures your Express app stays alive in the background:
sudo npm install pm2 -g4.Clone Your App and Install Dependencies:
Pull your code from GitHub directly onto the server. (If your repo is private, you will need to set up a GitHub Personal Access Token or SSH key first).
git clone https://github.com/yourusername/your-express-api.git
cd your-express-api
npm install
5.Launch the App with PM2:
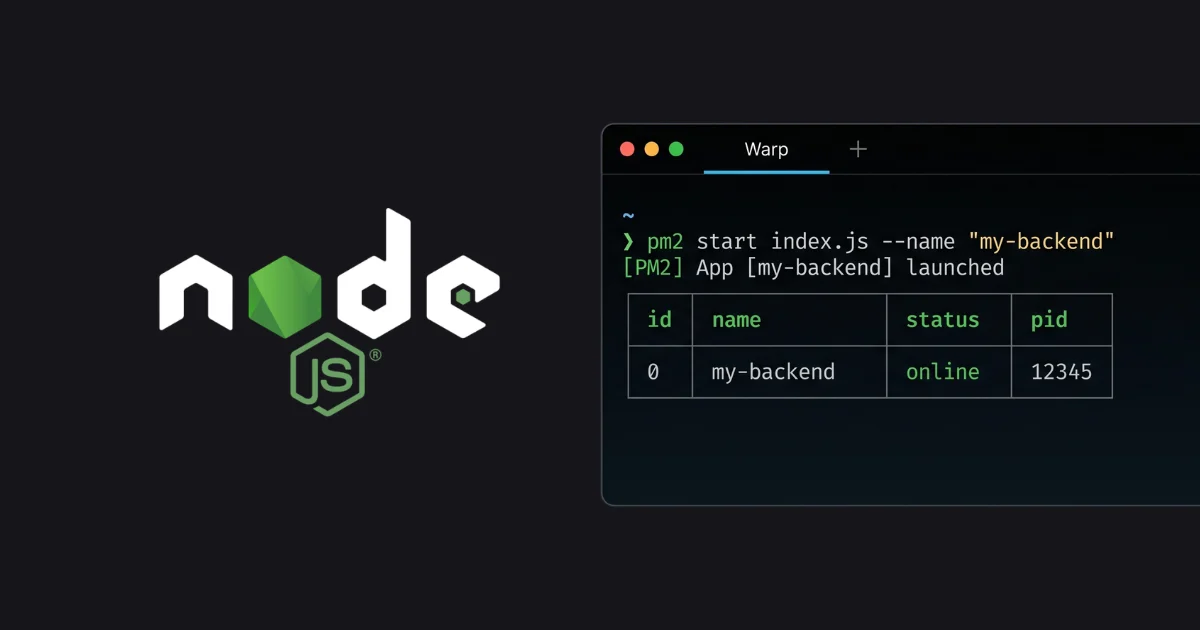
Start your Node server using PM2. If your entry point is index.js, run:
pm2 start index.js --name "my-backend"To ensure PM2 automatically restarts your app if the VPS itself reboots, run:
pm2 startup
pm2 save
Your Express app is now running on a port (usually 3000 or 8080).
6.Set Up Nginx as a Reverse Proxy:Route web traffic from port 80 to your Node app.
Right now, users would have to type http://YOUR_IP:3000 to see your app. Nginx will cleanly route standard web traffic to your Node app.
Install Nginx:
sudo apt install nginx -yOpen the default Nginx configuration file:
sudo nano /etc/nginx/sites-available/defaultReplace the location / block with this configuration to forward traffic to port 3000:
location / {
    proxy_pass http://localhost:3000;
    proxy_http_version 1.1;
    proxy_set_header Upgrade $http_upgrade;
    proxy_set_header Connection 'upgrade';
    proxy_set_header Host $host;
    proxy_cache_bypass $http_upgrade;
}
Save, test the config (sudo nginx -t), and restart Nginx (sudo systemctl restart nginx).
Is Hostinger VPS Right For You?
If you want an Apple-like, minimalist dashboard where everything is done for you with a single click, a VPS is not it. Hostinger’s VPS plans are unmanaged. This means you are acting as your own sysadmin — configuring firewalls, installing updates, and debugging server errors is entirely on your shoulders.
However, the tradeoff is absolute freedom and massive cost savings. For developers comfortable navigating a Linux environment, you get significantly more RAM, CPU power, and storage per dollar compared to managed services. It is the perfect staging ground for scalable SaaS backends, database hosting, or custom scripts.
Check out Hostinger’s latest VPS deals to deploy your own environment today.
Affiliate Disclosure: This post contains affiliate links. If you purchase a premium subscription through these links, infodizest earns a commission at no additional cost to you. We only review and recommend tools that have been thoroughly tested in our live development environments.












Responses (0 )