


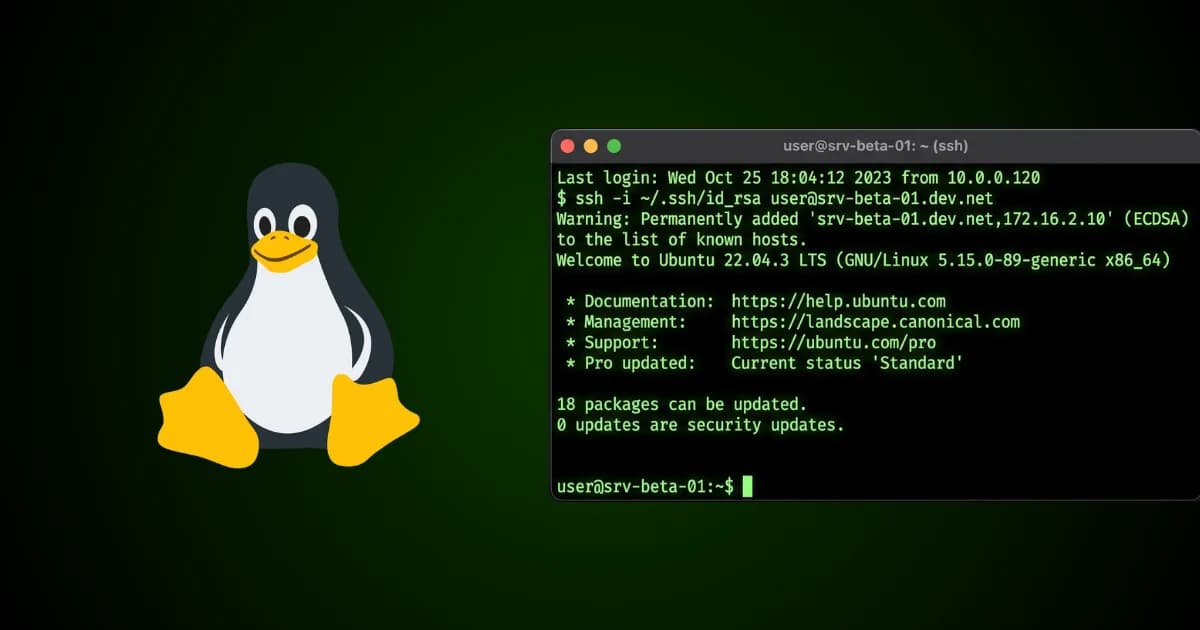
You just bought a fresh Linux VPS, and the IP is sitting in your inbox. Before you start pulling Docker images or cloning your Node.js repos, you need to lock it down. The moment a new server goes live on the public internet, automated botnets start hammering port 22 looking for weak root passwords.
If you leave your server in its default state, it's not a matter of if it gets compromised, but when. Here is the exact, 5-step workflow you need to execute the second you log in.
1. Update Your Packages: Patch known vulnerabilities immediately.
Before configuring anything, ensure your base system isn't running outdated, vulnerable software.
Log in via SSH and run:
apt update && apt upgrade -yThis fetches the latest package lists and installs available upgrades. A clean, updated system is your baseline defense.
2. Create a Non-Root User: Never run apps as root.
Operating as the root user is dangerous. A single bad command can wipe your system, and if an attacker gains root access, it's game over. You need a dedicated user with sudo privileges.
adduser your_new_username
usermod -aG sudo your_new_username
Switch to your new user (su - your_new_username) before continuing.
3. Enforce SSH Key Authentication: Kill password brute-forcing.
Passwords can be brute-forced; cryptographic keys cannot. Generate an SSH key pair on your local machine (if you haven't already):
ssh-keygen -t ed25519 -C "your_email@example.com"Then, copy the public key to your VPS:
ssh-copy-id your_new_username@your_server_ipTest the login. If you get in without typing your server password, the keys are working.
4. Disable Root Login and Password Auth: Lock the front door.
Now that you have secure key access via your non-root user, you must shut the door behind you.
Open the SSH daemon config file:
sudo nano /etc/ssh/sshd_configFind these two lines and change them to no:
PermitRootLogin no
PasswordAuthentication no
Restart the SSH service (sudo systemctl restart sshd). Your server now ignores password attempts entirely.
5. Configure UFW (Uncomplicated Firewall): Block unwanted traffic.
By default, your server might accept traffic on all ports. You need to explicitly allow only what you need. UFW makes this trivial on Ubuntu/Debian.
sudo ufw default deny incoming
sudo ufw default allow outgoing
sudo ufw allow ssh
sudo ufw allow http
sudo ufw allow https
sudo ufw enable
Warning: Always allow ssh before enabling the firewall, or you will lock yourself out.
Once these five steps are complete, your server is fundamentally secure against automated scanning and brute-force attacks. Now you can focus on deploying your actual application.
Need a fresh sandbox to practice this workflow? Spin up a reliable, low-cost VPS on Hostinger here.
Affiliate Disclosure: This post contains affiliate links. If you purchase a premium subscription through these links, infodizest earns a commission at no additional cost to you. We only review and recommend tools that have been thoroughly tested in our live development environments.










Responses (0 )